Brewery Upgrade: HERMS System (Part 1)
Since building my brewery kit, I’ve managed to brew a few beers…
#1 – Dirty Daemon II – Detailed in my last post, an American APA with loads of Citra in the boil & dry-hopped.
#2 – A Christmas CarAle – A Christmas ale spiced with Star Anise, Cinnamon and Nutmeg. Based on Greg Hughes’ recipe in Home Brew Beer.
#3 – Oaty McOatFace – An Oatmeal Stout, based on James Morton’s recipe in Brew.
#4 – Unnamed – A Raspberry Wheat beer, based on Greg Hughes’ recipe in Home Brew Beer.


The one thing that all these brew days have had in common is mash temperature control issues & lower than expected efficiency (just under 60% I think). The temperature issue is probably down to the crappy insulation in the cooler box I’m using for the Mash Tun. Efficiency could be affected by a number of things, not least the dead space under the drain/filter.
Rather than fix the insulation, I’ve decided to feed my gadget habit and build a HERMS system. Click this link to find out more.
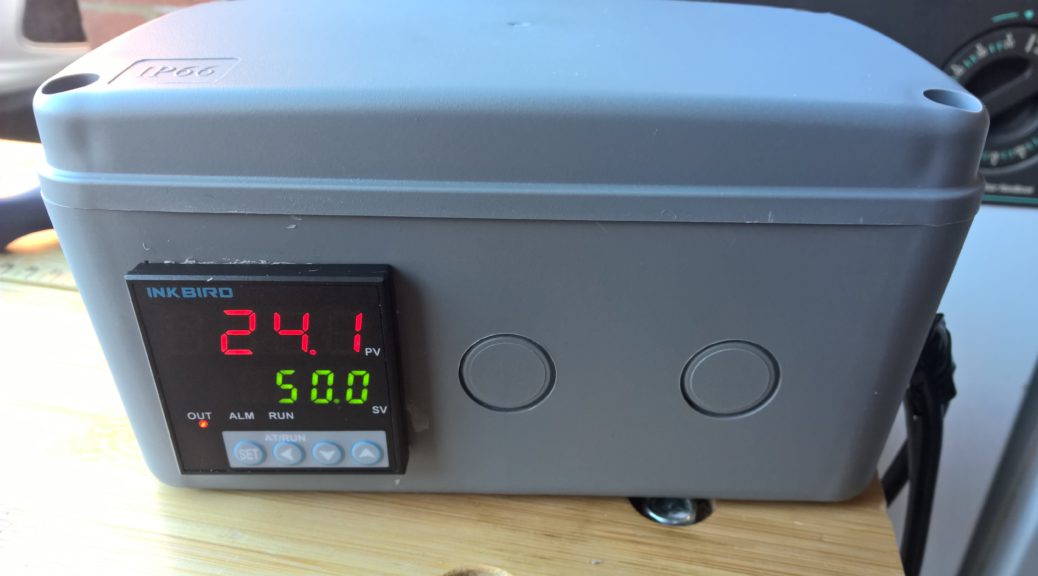
My HERMS system is going to be based on an Inkbird PID controller, a small Asparagus Steamer pot fitted with a kettle element, and a copper coil. The copper coil sits in the pot filled with hot water, my pump recirculates the wort from the mash, though the coil and back into the top of the mash tun. The PID controller monitors the heat of the wort and keeps it at a constant temperature by turning the kettle element on & off as necessary.
First up, the PID controller box…
Parts:
- Project Box
- Inkbird PID Controller + 25A SSR
- SSR Heatsink
- PT100 Probe
- Terminal block
- Twin & Earth cable
- A 10A computer power cable I had spare
So, first of all, measure and cut out where the Inkbird and heat sink will be mounted…


Next, the old power cable was cut in half and the both halves fed through a cable hole in the side. The box is going to be wired as follows:
Live & Neutral to Inkbird terminals. Live to SSR switched terminal. Live from SSR terminal to output cable. Neutral to output cable. Earth to output cable. Inkbird SSR control terminals to SSR control terminals. Temperature probe to Inkbird probe terminals.


Double check the wiring and make sure it’s correct! Check against the Inkbird wiring documentation and check again.
Stick the lid on and give it a go!…


Sorted! Well, almost. Amazon sent me a K probe instead of the PT100 I ordered, so there’s a replacement on the way.
One thought on “Brewery Upgrade: HERMS System (Part 1)”